Viewing, Sorting, Printing and Exporting a Custom View
Once you have created a custom view, press the ‘Show’
button at the bottom of the Custom View screen to open up the custom view.
Alternatively, if you have chosen to display the view on a page and you are on
that page, press the  ‘Custom Views’ button at the bottom of the page and select the view
from the list.
‘Custom Views’ button at the bottom of the page and select the view
from the list.
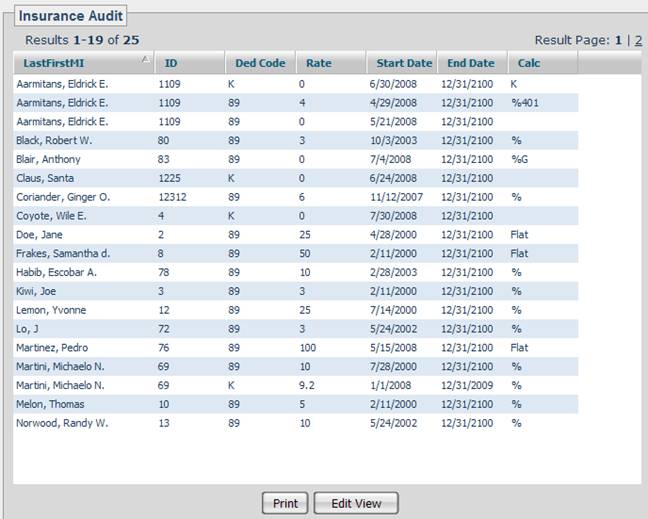
Once opened, the view can be sorted by clicking on a column heading. Clicking the same column heading again will toggle the sort order for the column from ascending to descending.
For a printable (and exportable) version of the view, press the ‘Print’ button at the bottom of the page. This will open the view in a separate window. You can then print the view by pressing the print button for the web page.
To export the view data into Microsoft Excel, first open Excel, then press the print button. Then select and copy the entire page and paste it into Excel.
If you are running Internet Explorer on Windows you can do this by following these steps:
1. Right-click on the data that opens and choose ‘Select All’.
2. Right-click again and choose ‘Copy’.
3. Go to Excel, highlight cell ‘A1’, right-click and choose ‘Paste’.