Creating a new custom view
• To create a new custom view, navigate to the Reports area. Then click on the Custom Views tab and press the ‘New’ button in the middle of the screen.
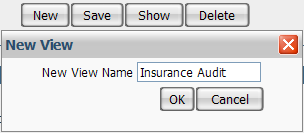
• Then enter a name for the new view in the box and press the ‘OK’ button.
• Next
choose the page that will be the source of the information for the page.
When the page is chosen, the Available Fields area is refreshed to show
the fields for the selected page. 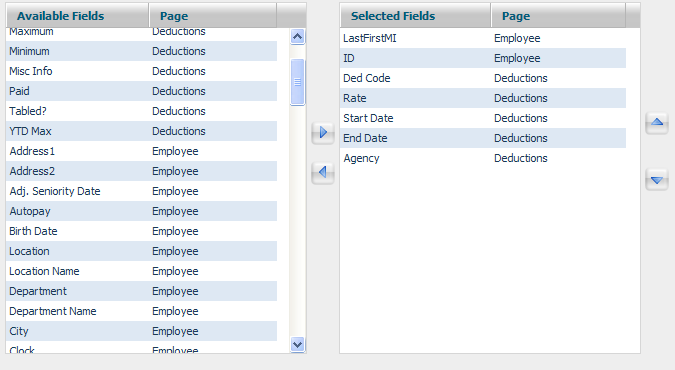
• Find fields you want to add to the view and either double click them or click the right arrow button to add them to the Selected Fields area. You can remove fields by highlighting them in the Selected Fields area and pressing the left arrow button. You can re-order the fields in the Selected Fields area by highlighting a field and pressing the up and down arrow buttons to move it up and down in the list.
• From here, you can press the Show button at the bottom to look at the view or continue on to Filter Your View. You can also press the ‘Save’ button to save your view at any time. Showing the view will automatically save it first.